If you want to make an update or adjustments to your website or shop, you can also test this in a staging environment, so that it won’t affect the live site if something goes wrong.
Individual Content Management Systems
Most CMSs allow a staging environment to be set up easily if a few data are set accordingly. For the following CMS this works fully automatically:
- Joomla
- Typo3
- Magento 2
- Shopware 5
- Shopware 6
- WordPress
If you are missing a CMS in the list, we are happy to implement it.
Set up staging environment
Open the website in ISPConfig and go to the tab “Staging”.
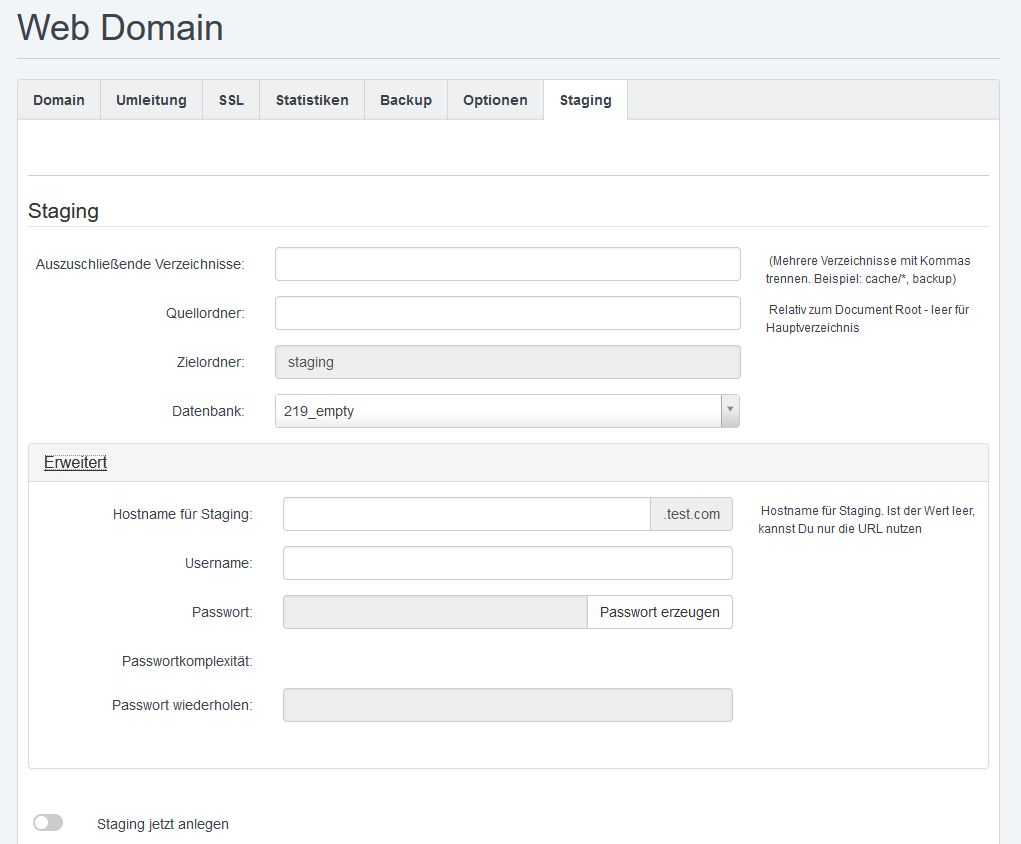
Under “Advanced” you can set further values:
Hostname for Staging – If you enter your domain test.com and you enter staging here, then the staging environment will be accessible at staging.test.com.
Username and Password – To secure the staging environment, you can enter a username and password here to access the staging environment.
To set up a staging environment, simply enable “Create Staging Now” and click “Save”. This will copy the complete website and the selected database and adjust the clones accordingly.
Access Staging Environment
Once the creation is complete, you can access the staging environment in the browser. If you have not specified a hostname, the URL is e.g. test.com/staging. If you have specified a hostname, the URL is e.g. staging.test.com